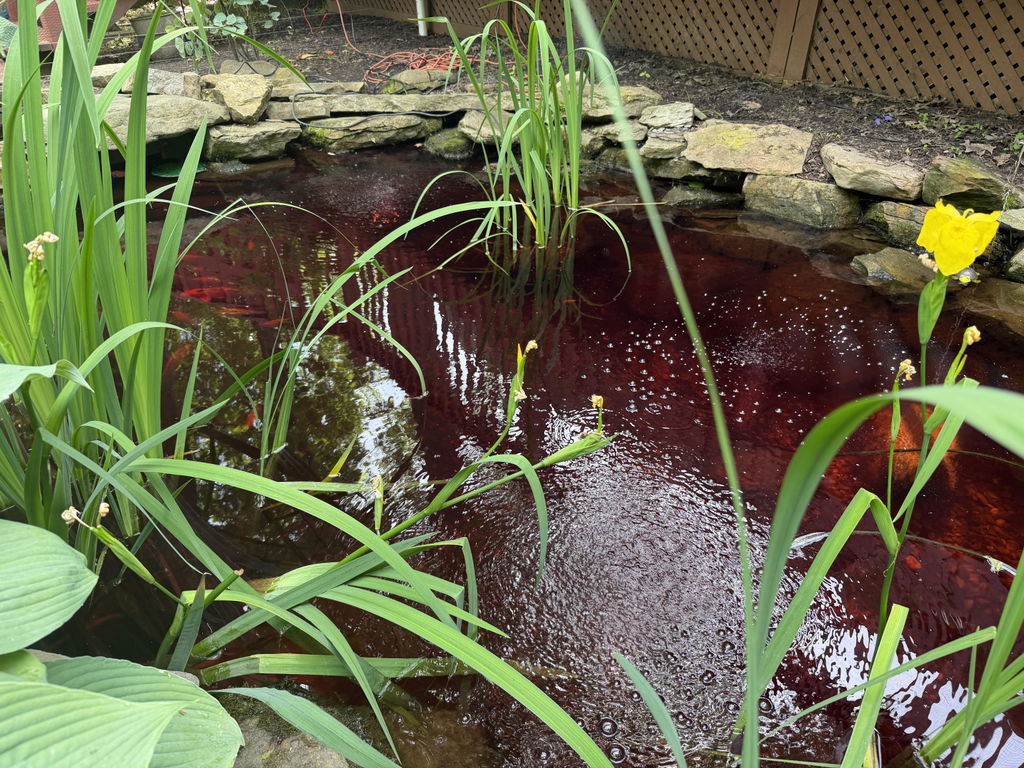
One of the biggest misconceptions in the koi industry is "how many fish can I put in my pond?" I see it asked all the time, and every time I see it, it's frustrating. Somebody will say x amount for 500 gallons, x amount for 250 gallons — and none of that makes sense.
As a fish farmer, I can tell you there's a huge difference between a three-inch fish and a twenty-inch fish. So if you're telling me I can only put one three-inch fish in 500 gallons of water, that's just insanity. That has nothing to do with anything. I can put 500 little fish into 500 gallons of water. The gallons aren't the limit.
And here's the other problem: most of these filters are junk. Even the good ones bend the truth a little on the box about how much capacity they really have. So the number of gallons doesn't tell you much, and the sticker on the filter tells you even less.
The real number you need to know is TAN.
"Rated for 1,000 gallons" doesn't mean anything
A lot of these pond builders say "this filter is rated for 1,000 gallons." That filter isn't rated for anything meaningful. Depending on the size of the fish, I can put fifty fish or a hundred fish in a thousand gallons of water. So what does "rated for 1,000 gallons" actually tell you? Nothing.
What we actually go off of is fish load — pounds of fish in the system — because that's what drives everything. And the reason fish load matters is that it tells you how much you're going to feed, and feed is what makes the waste your filter has to handle.
The general feeding rate runs like this:
- ~3% of body weight per day for most commercial facilities that are just holding fish
- ~5% if you want to grow them out
- up to ~9% if you're power feeding and pushing growth hard
So this whole notion of "x fish per 100 gallons" is nonsense. And the filtration side — which is the part that actually matters — is the part nobody seems to understand how to do. That's what I want to walk you through.
Filtration, filtration, filtration — and how hard do you want to work?
It comes down to filtration, filtration, filtration. But my philosophy takes it a step further, because there's a lot involved. Before anything else, ask yourself one question: how much work do you want to do?
Do you want an intensive system, or a passive one?
Say you've got a 5,000-gallon pond. Do you want to be cleaning it constantly? Do you want to backflush your bead filter multiple times a week, or once a week? How much effort are you willing to put in?
If you want to stay passive, in that 5,000-gallon pond maybe you put in ten or twelve fish. If you want to run an intensive system, maybe you put twenty-five fish in there. And when I say "fish" here, I mean large fish — twenty-four inches and above.
So that's really the fork in the road: intensive or passive, and how much of your time you're willing to give it. And either way, it always comes back to filtration, filtration, filtration.
The real number: TAN
Here's what all of this has been building to. Fish eat protein, and their bodies dump the leftover nitrogen back into the water as ammonia. Your filter grows bacteria that eat that ammonia. So the honest way to size a pond isn't gallons or a sticker on a box — it's to figure out how much ammonia your fish produce, and then build enough filter to remove it.
We measure that ammonia as TAN — Total Ammonia Nitrogen. That's ammonia in both its forms (the toxic NH₃ and the milder NH₄⁺) added together, because your bacteria happily consume both.
And the key that ties it to everything above: TAN production is driven by feed, not by fish count. That's why fish load and feeding rate are the numbers that matter. Once you know how much you're feeding, you can calculate your ammonia load and size the filter for it. Here's how.
Step 1 — How much TAN are you making?
The standard equation used across the aquaculture world (from Timmons & Ebeling's Recirculating Aquaculture, the field's main reference) is simple: your TAN produced per day equals your feed rate times the protein fraction of that feed times 0.092. Feed rate is how much you feed per day, in kilograms or pounds. Protein fraction is the protein percentage off your feed bag written as a decimal, so 32% protein becomes 0.32. And 0.092 is just a conversion constant.
Where does 0.092 come from?
It's not magic. Protein is about 16% nitrogen by weight, and roughly 57 to 58% of the nitrogen a fish eats ends up back in the water as TAN (the rest goes into growth, waste solids, and other forms). Multiply those two together — 0.16 times 0.575 — and you land right around 0.092. Different sources tweak the assumptions slightly, so you'll see this constant quoted anywhere from about 0.085 to 0.10. For a pond, 0.092 is a perfectly good number to plan around.
A handy sanity check falls right out of this: at ~30% protein feed, you produce roughly 30 grams of TAN for every kilogram of feed (about 0.5 oz per pound). Keep that in your back pocket.
Step 2 — How much can your media remove?
Bacteria don't live in your media, they live on its surface. So filter media is rated by how much ammonia it can process, expressed one of two ways:
- VTR (Volumetric TAN Removal) — grams of TAN removed per cubic unit of media per day. Easiest to use for sizing.
- Areal removal rate — grams of TAN per square meter of surface per day. This is the more "fundamental" number, since nitrification happens on surface area.
If you have the areal number, you convert it to a volume rate using your media's specific surface area (SSA) — the square meters of surface packed into each cubic meter of media, which the manufacturer lists. Just multiply the areal removal rate by that specific surface area and you have your VTR.
Typical planning figures for a pond running at moderate temperature:
- Areal removal rate: 0.2–1.0 g TAN/m²/day (use the low end to be safe)
- Moving-bed plastic media (K1-style) SSA: ~500 m²/m³
- Static bio-balls: ~200–300 m²/m³
Step 3 — Put it together
Now the payoff. Your media volume is simply your daily TAN divided by your VTR. That's the whole thing. Let's run real numbers.
A worked example
Say you feed half a kilogram a day (about 1.1 lb) of a 32% protein pellet, and you're running K1-style moving-bed media with a specific surface area around 500 m²/m³, at a conservative removal rate of 0.3 g/m²/day.
Start with the ammonia load. Half a kilogram of feed times 0.32 protein times 0.092 comes out to 0.0147 kg of TAN a day — call it 14.7 grams of TAN per day. Next, figure your media's removal rate: 0.3 g/m²/day times 500 m²/m³ gives you 150 grams of TAN removed per cubic meter of media per day. Finally, divide the load by the rate — 14.7 grams a day into 150 — and you get about 0.098 cubic meters of media.
In units you can actually shop with, that's roughly 98 liters, about 3.5 cubic feet, or around 26 gallons of media. So this feeding load needs roughly three to four cubic feet of K1 media. If you'd used cheaper bio-balls with half the surface area, you'd need closer to seven cubic feet to do the same job — which is exactly why high-surface-area media is worth it, and exactly why the sticker on the box doesn't tell the story.
Case study: the high-load system I'm building
Let me show you what this looks like on a real system I'm putting together right now. This isn't a normal backyard pond — it's a serious high-load koi holding and grow-out setup, and every decision in it was made off feed load, not gallons.
The design load. It's an ~1,900-gallon rectangular pool. I'm building it around a max load of 100 lb of koi power fed at 9% body weight — 9 lb of feed a day at 35% protein. That's the ceiling, not the everyday rate. I want the abilty to power feed 100lbs of fish. So, thats where I've set the max rate at.
Here's the ammonia number that drives everything. Nine pounds of feed a day is about 4,082 grams. Run it through the formula — 4,082 grams times 0.35 protein times 0.092 — and you get roughly 131 grams of TAN per day. So the whole system gets designed around a max ammonia load of about 131 g TAN/day. Every piece below traces back to that number.
The filtration path is one main loop: pool to a 1/3 HP pump, into an AlphaONE bead filter, through a Bakki shower, and back to the pool. The bead filter comes before the shower on purpose, so the shower gets cleaner water and its media doesn't pack up with solids. On a 1,900-gallon pool I'm targeting around 3,000 GPH — roughly 1.6 turnovers an hour.
The bead filter (AlphaONE, 4.25/4.5 class) does the dirty work: catches solids, polishes the water, adds some biofiltration, and protects the shower. At heavy feeding it gets backwashed daily — you want solids out before they break down and add more dissolved waste.
The Bakki shower (40-inch) is the oxygen-rich biological stage — ammonia and nitrite conversion, CO₂ stripping, gas exchange. I'm running a balanced four-tray media stack, each tray doing a specific job:
- Top — bio balls: break up the water, spread the splash, keep the shower open for gas exchange
- Two middle trays — K+ media: the main nitrification surface, high protected surface area in a compact space, doubled up for extra ammonia and nitrite capacity
- Bottom — ceramic media: extra biological surface plus weight and stability
Does the media keep up? This next part is a preliminary estimate — the credited surface-area figures for each media type are approximate, so treat the result as a ballpark I'll refine as I finalize the build, not a hard number. Adding up the credited surface area across the bead filter media and the four shower trays comes to roughly 410 m². Run the load against it — 131 grams of TAN a day divided by about 410 m² — and you land at around 0.32 grams of TAN per square meter per day. Even as a rough estimate, that 0.32 g TAN/m²/day sits comfortably in the design range for a high-load koi system — the second K+ tray buys extra headroom — and especially so when you remember that 9 lb/day is the max capacity number, not the everyday feed rate.
The supporting cast, all sized off that same load:
- Aeration: an HK-100L air pump with two 9-inch diffuser discs to hold dissolved oxygen up (target 6+ mg/L, ideally 7+), keep water moving, and support the bacteria. At max feed I still watch it with a DO meter.
- Well-water trickle: a small continuous trickle from a limestone aquifer (~pH 8.5, high alkalinity) at about 10–20 GPH — roughly 240–480 gallons a day, or ~13–25% daily exchange. It dilutes nitrate, replaces minerals, and props up KH. An overflow keeps the level in check.
- KH: heavy nitrification eats alkalinity — at 131 g TAN/day that's roughly 938 g/day of CaCO₃ equivalent consumed. The limestone water helps, but KH still gets tested during heavy feeding. Stable pH around 8.5 is fine for koi as long as ammonia stays controlled.
- Nitrate: the shower's job is nitrification and gas exchange, not nitrate removal. That's handled by the trickle-in, the overflow, testing, and water changes when needed.
The bottom line on this build: it's designed around the real waste source — feed. The bead filter handles solids and polishing, the shower gives oxygen-rich biofiltration, the air system protects DO, and the well-water trickle controls nitrate and minerals. Gallons never entered into it.
Don't forget the fudge factor
The math gives you a clean number, but real ponds aren't clean. A few things to build in before you buy:
Size for peak feeding, not average. Use the biggest feeding day you'll ever have — your fish at full size, fed hard — not the little bit you feed when they're small. Remember those feeding rates: holding is one thing, but power feeding at 9% is a completely different load on the same fish.
Add a safety factor. Most people size 1.5× to 2× above the calculated number. Bacteria take weeks to establish, cold snaps slow them down, and it's a lot cheaper to have spare capacity than to lose a pond of koi.
This is also where intensive vs. passive lives. Want to feed heavy and stock more fish? You need more media and you'll be backflushing more often. Want a low-maintenance pond? Feed lighter, stock lighter, and let the filter coast.
Temperature matters a lot. Nitrifying bacteria are sluggish in cold water. If your pond runs cool, lean toward the low end of the removal rate.
Watch your alkalinity and oxygen. Nitrification eats alkalinity and needs dissolved oxygen. A "correctly sized" filter still underperforms if the water chemistry starves the bacteria.
The whole thing on one line
So forget "how many fish per gallon." The honest answer to "how many fish can I fit in my pond?" is: as many as your filtration can keep up with.
And you find that number like this. Take your feed times its protein times 0.092 to get your daily TAN. Divide that by your media's removal rate multiplied by its surface area to get the cubic feet of media you need. Then multiply by about 1.5 to 2 for a safety margin. Get those two numbers right — what your fish produce and what your media removes — and you'll never have to guess at your pond again.
Want to run your own numbers? Grab your feed rate, the protein % off the bag, and your media's surface-area spec, and plug them into the equations above. The whole calculation takes about two minutes.